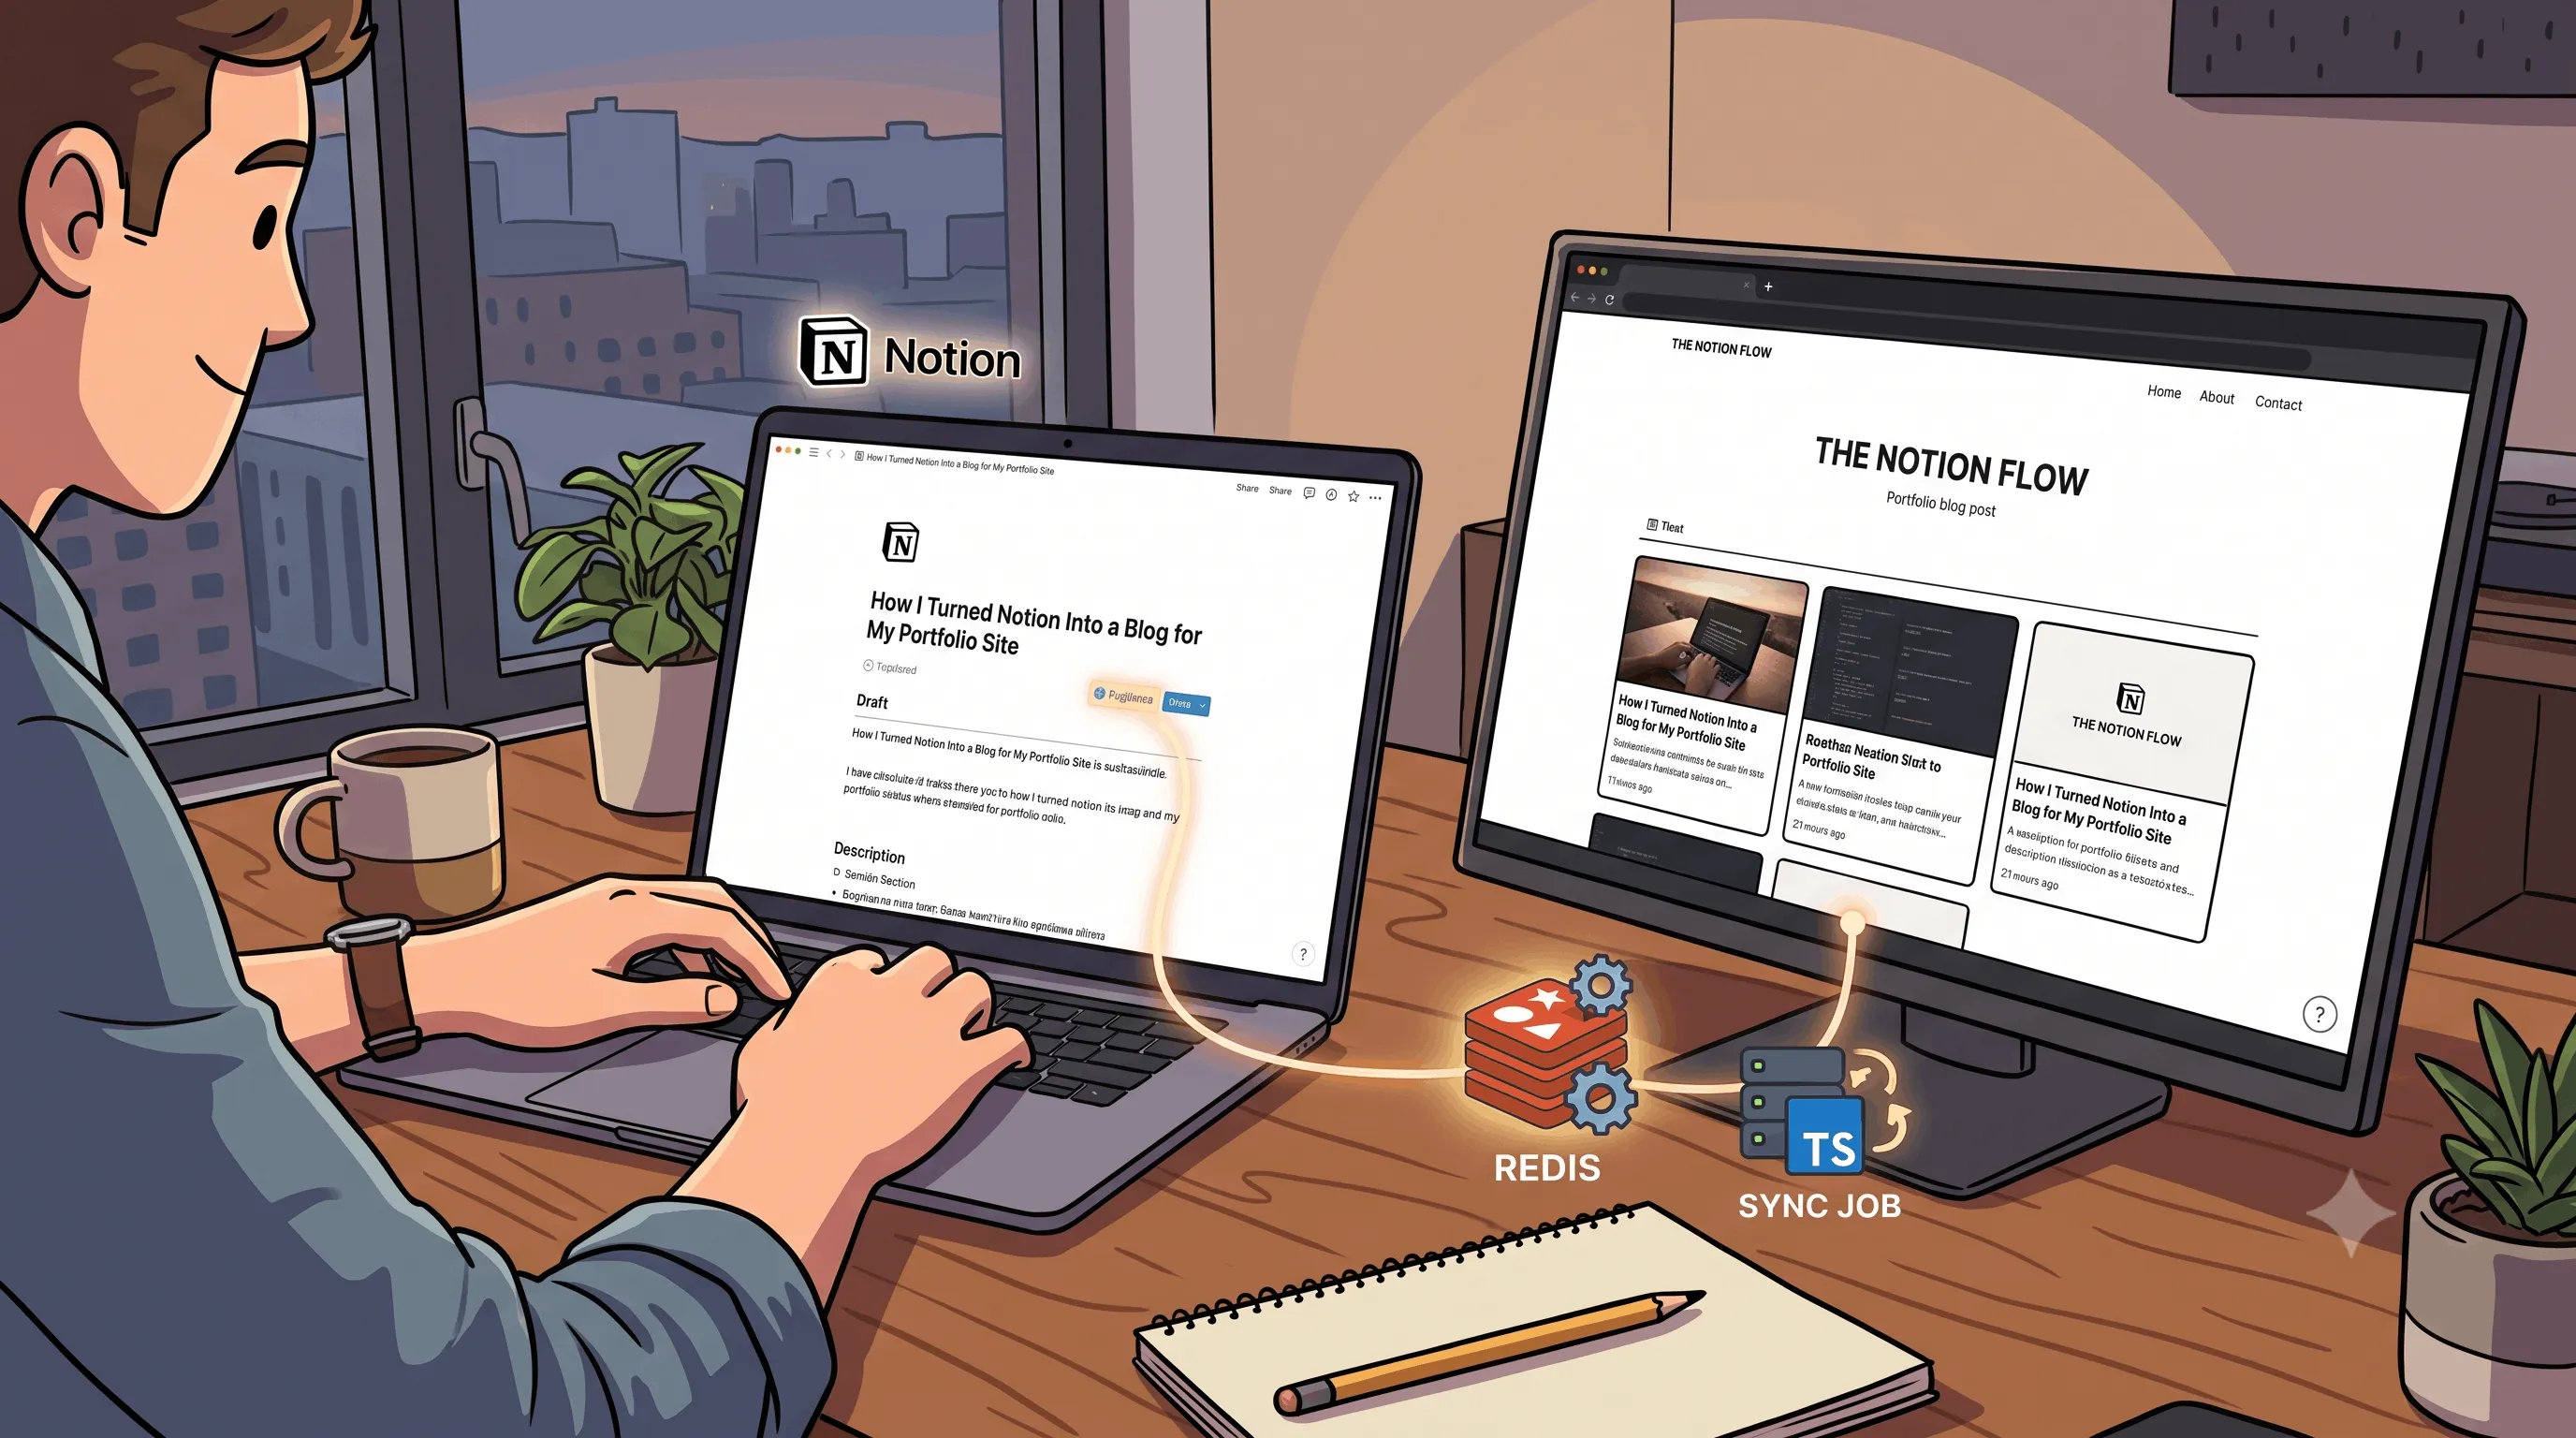
How I turned my Notion into a blog for my portfolio site
I write a lot in Notion. Drafts, ideas, half-finished posts. But for the longest time, I had no easy way to put those writings on my portfolio site. So I built...
I write a lot in Notion. Drafts, ideas, half-finished posts. But for the longest time, I had no easy way to put those writings on my portfolio site. So I built a small system that takes my Notion pages and turns them into blog posts on my site. No CMS, no admin panel, no extra tools to learn. Just Notion and a tiny piece of code in the background.
This post is about why I did it, and how it works in plain language.
The problem I was trying to solve
I have a Notion database where I keep all of my blog posts. Each one has a title, a cover image, a short description, and the body of the post. I also have a Next.js portfolio site that I built for myself. For a long time, those two things did not talk to each other.
When I wanted to publish a new post, I had two choices. I could copy my Notion writing into a markdown file, save it in my code repository, and ship a new version of my site. Or I could leave the post in Notion and never actually share it. Most of the time, I picked the second option. Which is a polite way of saying my blog was empty.
I did not want to learn a new tool like WordPress, Ghost, or a hosted CMS. I already like writing in Notion. The editor is nice, the database features are nice, and I can draft from my phone. What I really wanted was for the writing to live in Notion and just appear on my site when I was ready.
The idea
The plan turned out to be simple. A small program runs in the background, looks at my Notion database, finds the posts I have marked as "published", and saves them in a fast in-memory store. My portfolio site then asks that store for the posts and shows them.
That is the whole trick. The "store" is just a small Redis database, which is a popular tool for keeping things in memory so they load fast. The program that copies posts from Notion to Redis runs once when the server starts up, and then again every 24 hours to pick up anything new.
The result: I write in Notion, flip a switch to say "this is published", and it shows up on my site within a day. I do not touch any code, I do not log in to a CMS, I do not rebuild anything. I just write.
The pieces, in plain English
There are four moving parts in this setup.
The first is a small backend server I wrote in TypeScript. Its only job is to hold the blog posts and serve them when my portfolio site asks for them.
The second is Redis, which holds the posts in memory. The posts are small, so they fit comfortably there.
The third is a sync job. This is the part that talks to Notion. It reads my database, picks up only the posts that I have marked as published, downloads the images so they live on my own server, and saves the result to Redis.
The fourth is a page on my portfolio site that shows the posts. It calls the backend, gets a list of posts, and displays them as cards. Click a card, you read the post.
I run the backend on a small server. The portfolio site lives on Cloudflare Pages, which is a fast static site host. They talk to each other over the internet using a normal web URL.
How the flow works
Here is what happens, end to end, when I publish a new post.
I open Notion, write the post, and tick the "published" box on the page. That is all I do on my end.
A few minutes later (or up to 24 hours later, depending on timing), the sync job runs. It asks Notion for every page in my blog database. Notion hands back a list. The job filters out anything that is not published. For each remaining post, it downloads the post body, the cover image, and any other images inside the post. It converts all of that into a clean, ready-to-display format and saves it to Redis.
When you visit my blog page, my portfolio site asks the backend, "what posts do you have?" The backend reads from Redis and answers with a list. Your browser turns that list into the cards you see. When you click a post, my site asks the backend for that specific post, and you read it.
The post itself is plain HTML, with the images already hosted on my server. There is no JavaScript magic on the reader side, no fancy loading states, no tracking.
Why I mirror the images
Notion lets you embed images by uploading them, and it stores them on its own servers. The links work, but they have two downsides for a public site.
The first is that the links expire. If someone shares a link to an image on my blog, the link might break a few months later. The second is that Notion's servers are not always fast from every part of the world. When I tested the blog from a few different places, the images added a noticeable delay on first load.
So the sync job does an extra step. For every image in a post, it downloads the image once, converts it to a modern web-friendly format, and saves it on my own server. After that, the blog post shows images from my server, not Notion's. They load faster and they never expire. The same image is never downloaded twice, because the sync job remembers what it has already saved.
How I deploy it
The backend is a small program that runs in a Docker container. Docker is a way to package a program so it runs the same way on any server. I use a service called Dokploy to manage the container. The container has a small health check that tells the platform whether it is alive and whether it can talk to its database. If something breaks, the platform restarts it.
The portfolio site itself is a Next.js app, and I deploy it to Cloudflare Pages. Cloudflare serves the static files of my site from servers all over the world, so it loads fast wherever you are. The blog page on the site makes a normal HTTPS request to the backend to fetch posts.
There is one small detail that took me a moment to get right. When my site asks the backend for images, the image URLs need to use https, not http, so the browser does not complain. I had a typo in my configuration that mixed the two, and the browser quietly blocked the images until I fixed it. Lesson learned: configuration is a place where small mistakes can hide for a long time.
What I learned
A few things came out of building this that I did not expect.
Caching is easy, knowing when to refresh it is the hard part. I picked a 24 hour refresh window because my blog does not change that often. If you publish every day, you might want a different setup, where Notion pings a webhook the moment you publish and triggers a refresh right away. For me, 24 hours is fine. I am not in a rush.
Hosting images yourself is a bigger deal than I thought. Before I started mirroring images, my blog loaded slowly because every image was a round trip to Notion's servers. Once I started hosting them myself, the page felt twice as fast. If you take one thing away from this post, take that one.
The simplest API is usually the right API. My backend has exactly one endpoint. It returns one JSON object with the list of posts. That is all the frontend needs. No fancy resource hierarchies, no versioning, no rate limits. For a personal blog, the simplest design is almost always the right one.
You do not need a big database for a small dataset. My entire blog fits in one Redis key as a single JSON string. It is well under a megabyte. A traditional database would have been overkill. If my blog ever grows to a thousand posts, I would rethink this. For now, the simple approach is the right approach.
TypeScript earns its keep. I started writing this in plain JavaScript and kept running into small bugs where I assumed a field existed and it did not, or I got a value back that was null and forgot to handle it. Once I switched to TypeScript, the code got a bit longer but the bugs mostly disappeared. The compiler catches a lot of mistakes before they ever become a problem.
If you want to build something like this
The short version of the recipe is this. Make a Notion database with a property that says whether a post is published. Write a small program that asks Notion for all the published pages. Save the result somewhere fast, like Redis. Make one HTTP route that returns the saved data. Build a page on your site that calls that route.
That is the whole thing. It took me a couple of days to put together, and most of that time was waiting for tools to install. The actual logic is small.
If you want to see the code, both the backend and the frontend are open source on my GitHub. The links are at the bottom of my site.
If you have questions, my email is in the footer. I am always happy to hear from people who are building similar things.